I you look at the textures, there's actually on of those black, non-reflective seams right at the edges.
In all of these links there's mention of a possible fix for it. There are mentions of engine side fixes, but also of a fix in the model exporter. Maybe smething similar could be implemented in PCS2?
Those black seams are on a 128x512 texture from about 1999. What you want to do, is think about what they might have done if they had used a larger 512x512 texture. Thing is they had to sell the model using just a small diffuse map, you on the other hand have a bit more choice with normal and shine maps, more polys and larger textures.
There really isn't a normal map problem. What you see in Blender with the inverted uv's is not what you see in FS. There are issues with seams, but that's across all applications. The standard rule for Hi poly > Lo poly baking is hide the seams as much as possible, and try not to have mirrored uv's next to each other. If you are using photoshop to create normal maps then you have a bit more choice.
Don't let the uv part put you off.
A good method is to sort the low poly model first, including smoothing. Normal maps and smoothing work together.
Then unwrap, either 512
2 or 1024
2 The format of the current unwrap is a bit limiting, preventing you from getting much more detail in the map. Blender's unwrap tools are very good.
Create a hi poly version for baking OR use photoshop to create the normal map
A third way is to use the high poly for the larger details and photoshop for the smaller details.
Then use the normal map as a guide to create the diffuse texture.
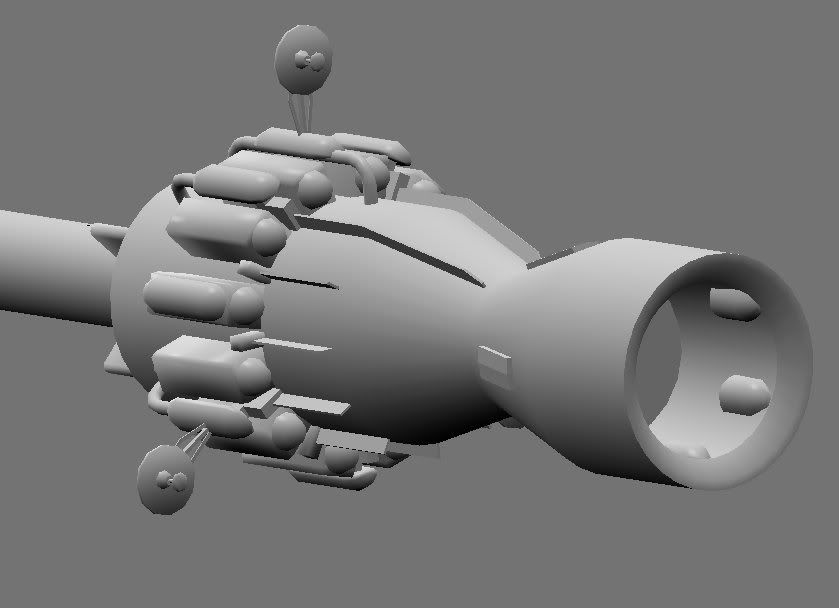
An example, basic mesh
Normal map using xNormal for hi>lo and hight map to normal map. Both combined in Gimp to create one map. Even without the diffuse map it looks half way done already.

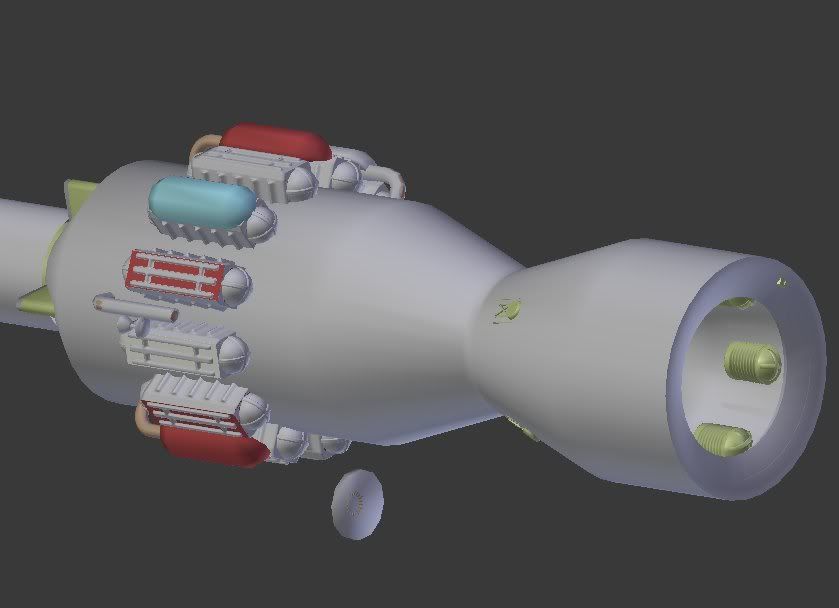
This is some of the hipoly parts. The colour coding is to help with the baking. Only one of each duplicated item is baked, since they all share the same texture space. The same sort of thing you would do for the container. A large amount of the container map is repeated to cut the texture space to the bare minimum.
XNormal has a some tools to convert normal map into a sort of fake ao. (Don't use a greyscale version of the normal map directly in the diffuse as it'll fight against what the normal map is tying to achieve) After that it's a case of adding colour and dirt. Having the normal map helps a lot with the texturing. Blender can also create an AO map to lightly shade the crevices.
