If you don't find this page helpful, or would rather see a tutorial from someone more experienced in these matters go to
http://www.hard-light.net/forums/index.php?topic=74636.0Otherwise, good luck!
Talking heads, hud shield icons, command briefing motion pictures, opening doors in the main hall screen... if it's animation in Freespace2 there's a good bet it's an .ani file! What exactly are these things and how are they made?
.ani files string together .pcx picture files as separate frames and display them one after the other to create an animation like a flipbook. This is a file format specific to Volition and in order to create them, certain Volition made tools are necessary.
Do you want to be able to make .ani files of your own? This tutorial should show you how! Don't be discouraged by the setup. Once you get things up and running, making .anis goes much more easily.
Step 1: You are going to need to have some kind of software that can save files in .bmp with 24bit depth. Paint.net, Gimp, or Photoshop are all good options. You will need to create your images and name them like this:
imagename0000 , imagename0001, imagename0002, ... , imagenameXXXX for as many frames as it takes to create the animation you want. The 'imagename' can be anything but there must be 4 trailing numbers behind every frame counting up in sequence. Note that imagename0000 will be the first picture shown in the animation. All pictures must be the same dimension. ((Width) x (Height))

Save them all and put them all in a single folder. We will get to them later.
Step 2:
You are going to need to convert the images into a proper format for Volition's software to be able to read them. It needs to be in pcx. 8 bit with 256 color. Don't worry we are going convert your images to that format in the next few steps.
http://www.mediafire.com/?e1f53f8z5jzwej5Download this folder and unpack it in your C drive. This is the necessary conversion software along with IrfanView a useful file formatting tool. This folder must go into your C drive unless you want to do step 3.
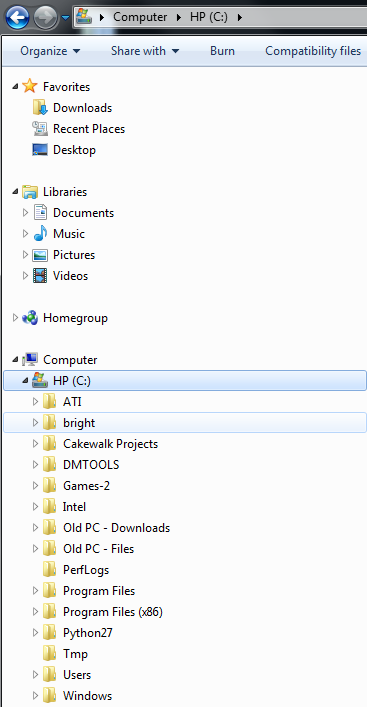
Step 3(optional): install the folder into your desired directory, open it and right click on the file 'Mjnfilepath' then select edit. You should see a notepad document pop up. Select the two lines of code and type the name of the directory your bright folder is in.

Step 4(colored .anis only): Remember those images you made? Copy the .cfg file 'Mjnfilepath' and paste it in the same folder as your .bmp images. Left click 'Mjnfilepath' to run it and it should automatically convert every image you have into the proper pcx. 8 bit with 256 color.
Step 4(Head and shield greyscale .anis only): 'See replys at the bottom for now... will be updated later'
Step 5: We now have everything we need to string the images together into an .ani file.
Download this file. It can be saved in any directory you want.
http://www.mediafire.com/?4767os3j1hhe5v2This is the latest version of Volition's .ani builder. It's pretty user friendly. Open the application and click on the 'select' button and browse for your imagename0000.pcx file. Select where you want to save the .ani and specify its type then click Start to convert your images into a single .ani file. The .ani builder will automatically chain the images together in sequence all the way up to your highest valued frame.

You should see a new .ani file in the directory you selected. You can view the software with aniview which can be found within this folder along with other freespace tools.
http://www.mediafire.com/?b66u0y4ej21zictSpecial thanks to MjnMixael for showing me how to do this. Comments for improving the tutorial are welcome.
