Steel Panthers was a long-running series of turn-and-hex-based military strategy games released by Strategic Simulations Incorporated, the same guys who made Panzer General and the like. Support, such as it is for the games now with SP: World at War and SP: Main Battle Tank, is through Matrix Games and The Camo Workshop; those two games are free so don't buy them from Matrix. Steel Panthers 3 can only be found via abandonware sites by now though I actually have a CD. It was subtitled "Brigade Command" and operates on a larger scale than the other games: the basic unit is the platoon rather than the squad (or individual vehicle) and rather than company or battalion level combat it simulates regimental or brigade level combat.
An important mechanic in all of them is that in a campaign, after a battle you are given a certain number of points for replacements or upgrades. Start with bad stuff, get better.
Behold the greatest music ever used for a TANKS video
I'm going to run a very random battle to show things off for you guys, and then we'll discuss what we really want to do. Japan vs. Canada, because why not, in early 1995.
TO&E for the first fight. This is very unoptimized; in a real game I'd probably delete some of the less-useful support sections.
Command Section
- 8 infantrymen.
- 1 Type 73 APC; not native, they need a ride. The Type 73 is basically an M113, down to the pintle M2, except for some bizarre reason it has a bow-mounted M1919 .30cal.
Armor Battalion
- 2 Type 74 main battle tanks for a battalion command section. Japan's second indigenous tank design, the Type 74 is comparable to early Leopard 1 variants or late models of the M48 Patton, and carries the Royal Ordnance L7 gun. For 1995 they are not great vehicles, but fortunately their APFSDS and HEAT round are much more modern than they are so they're not totally helpless against other second-line tanks.
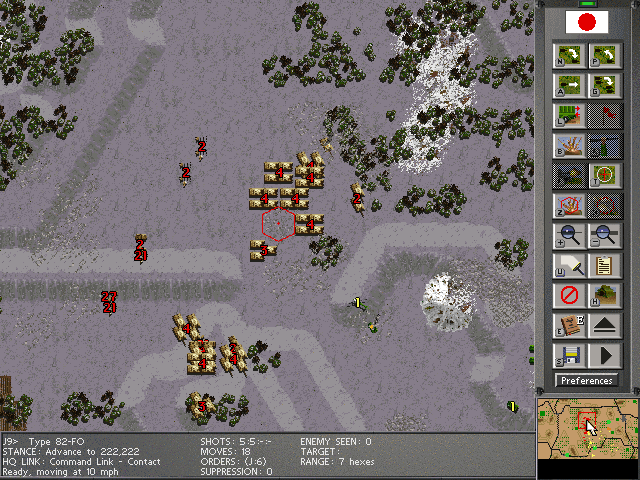
- 3 companies of Type 74 MBTs consisting of 2 tanks commanding, three platoons of four tanks for the fighting part, and a single Type 82 Armored Car modified with extra radios for the Forward observer role. The FO vehicles, and their ability get rapid response artillery, are the most important part of the company.
Mechanized Infantry Battalion
- 8 infantry and 1 attached Type 73 APC command section. Infantry in Steel Panthers are often kind of samey, with a rifle, an LMG, grenades, and an RPG/LAW. Except Japanese infantry don't have RPG/LAW standard. Hence their profusion of Gustavs.
- 3 infantry companies consisting of 1 platoon of 36 men and 2 platoons of 24 men, 3 squads of 3 Carl Gustav recoilless rifle teams (upgradeable to proper ATGMs), and one platoon of 5 Type 73 APCs and two platoons of 4 Type 73 APCs for transport. Plus an FO vehicle each. Gotta call that arty.
- Mechanized ATGM company consisting of Type 73 Light Trucks with a Type 79 Jyu-MAT ATGM on a post mount. Gotta go fast, pop tanks. Good for a delaying force and blocking for a turn, but hard as tissue paper.
- Mechanized Mortar Company consisting of 3 platoons of 3 Type SV 60 mortar vehicles, essentially a Type 73 APC with a hole in the roof for an 81mm mortar to shoot out of.
- Anti-Air Section: 1 squad of 3 Stinger teams and 3 jeeps for transport. Our only native anti-air. Here's hoping for a lack of gunships!
Grid Square Eraser Rocket Artillery Battalion
- 2 companies of 3 platoons of 6 vehicles of the good old M270 MLRS. These are for erasing vehicles mostly, though given country training they may not be as capable against moving targets as the American version.
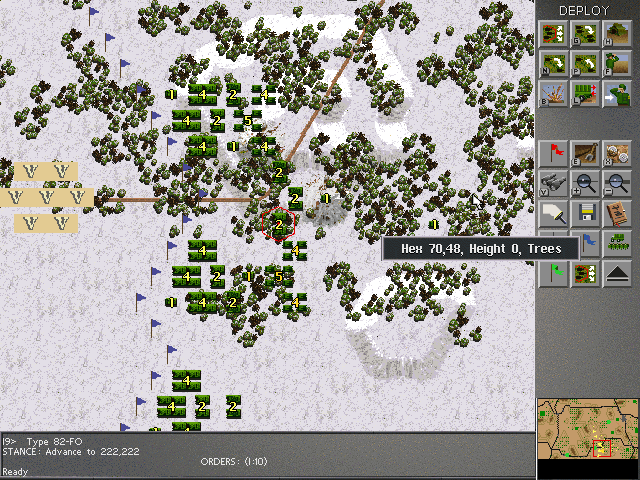
The mission is to advance; the battle is a meeting engagement with three victory areas, one for us, one contested, one for Canuckstan. Unlike normal, however, they're not in a rough row, so this could get sticky with flanking movements.
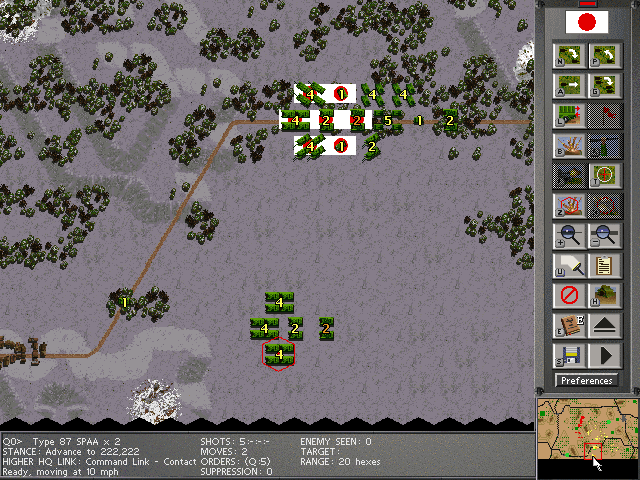
Our forces are deployed with the tank battalion set up to advance and capture the contested objectives, supported by two of the infantry companies. One infantry company, and the mechanized ATGM company, are to the north, as flank guards.
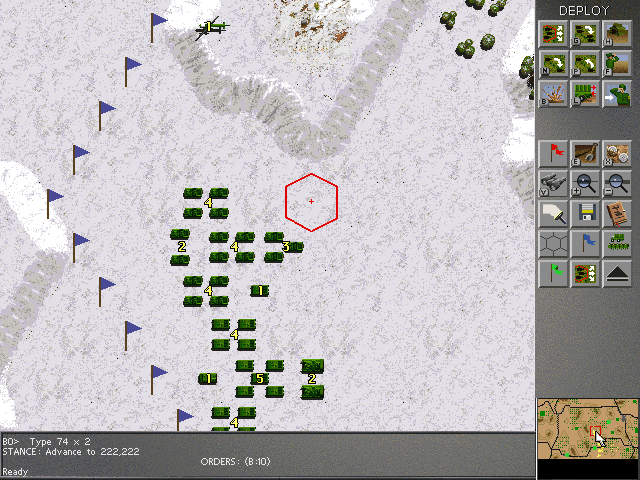
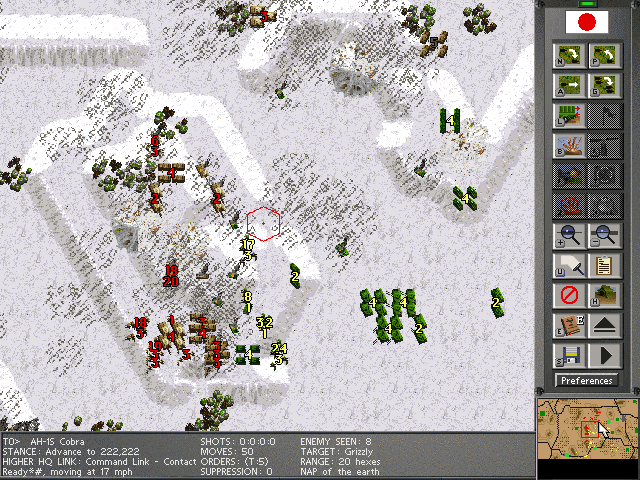
Each scenario comes with some points for auxilary units. You'll notice I've got a bunch of Type 87 SPAAGs; enough to deploy a pair with each infantry and tank company for helicopter and aircraft defense. The 35mm cannon are also useful against most light and medium armor, so there's that. We also have a single AH-1J Cobra guarding the extreme northern flank, armed with 70mm rockets and TOW-2 missiles.
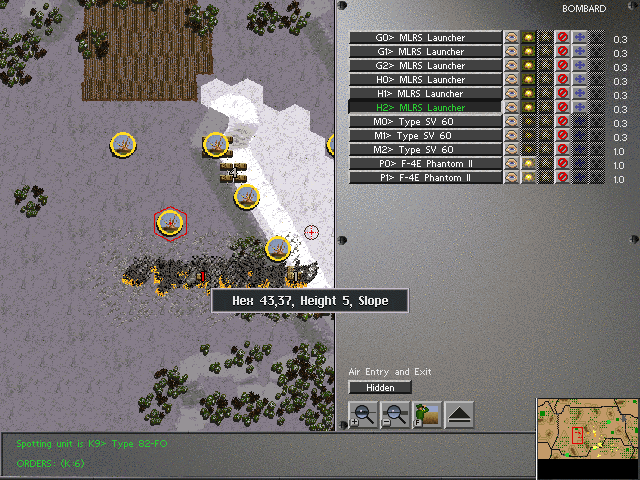
This is the pre-mission bombardment screen. Artillery in SP3 is love. It is life. Get used to the bombardment screen. We have a pair of F-4E's with napalm on standby. I'm going to commit them to attack along the road linking the contested and Canadian victory hexes, which will inhibit movement. I'm mainly concerned with killing the first wave and then moving in through the rest of the losers.
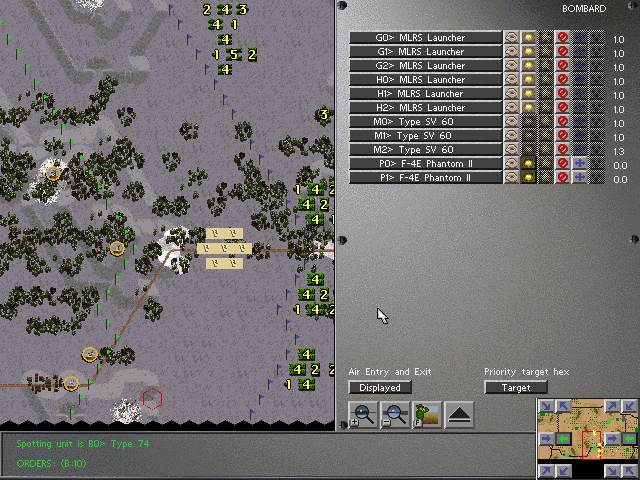
Also visible: priority target hexes for pre-registered fire; another way to get quick artillery response.
The Phantoms attack exactly nowhere near where they were supposed to, expending their attacks on some Leopard 1CE tanks and Lynx recon vehicles. Artillery is generally somewhat reliable, but aircraft go for what they can see, and sometimes that's not what you want. In fact, considering where they attacked they were probably angling for friendlies before they spotted enemies further on.
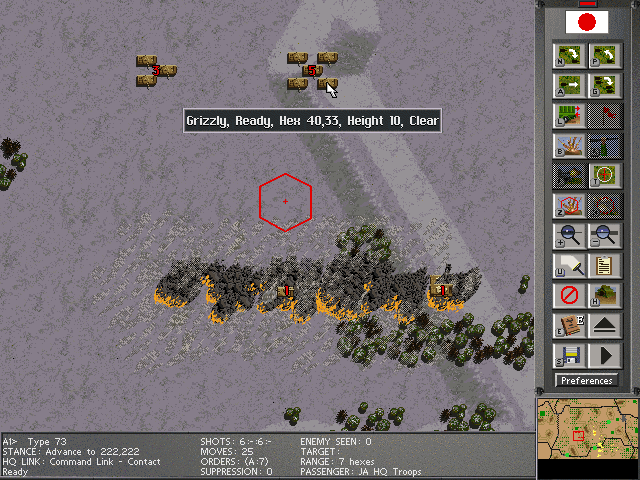
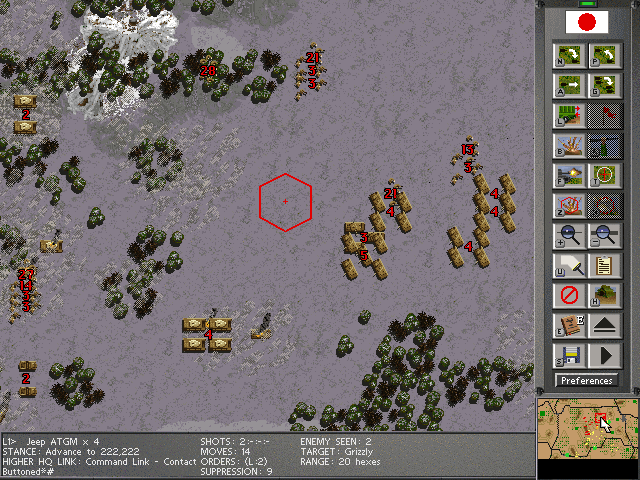
They also spot a bunch of Grizzly APCs. APC fight with Ma Deuce being the biggest gun anyone has, go!
Or we could use the northern group's FO vehicle to wreck faces.
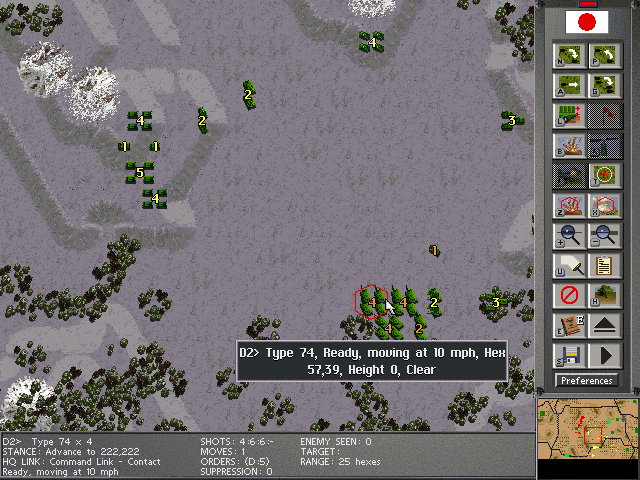
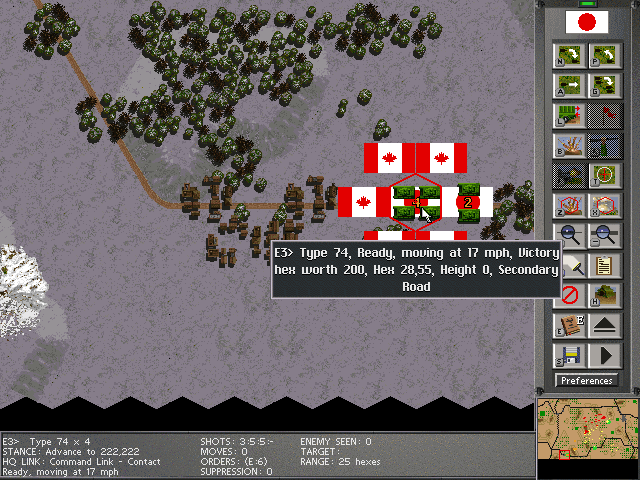
Tanks easily seize the contested objectives, but find no enemy units as we push forward there.
And then it pretty much goes to hell in thirty seconds, as one of our platoons of ATGM jeeps gets its face pushed in while trying to sweep around to flank detected enemy units. Look at all those Leopard 1CEs.
The AI didn't deploy to seize the contested objectives. It didn't even deploy to protect its own objectives, it deployed in the center of the map mainly to attack ours. We are way out of position.

Immediately one of the tank companies is diverted north and the MLRS ordered to retarget, while the the infantry company and ATGM jeeps are deployed for a holding action. Smoke is also called for from the mortars, but the 81mms are incredibly short ranged in terms of Steel Panthers 3 maps.
The infantry company deploys, vehicles on the ridge, infantry just behind, to hold off the rush of Canadian Grizzlys as long as possible. Unfortunately, this plan is interrupted by a bunch of Leopard 1CEs from the North. Still, as a blocking force, they're working for now; the AI stops to try and make them move out of the way rather than push through them, and the predicted APC fight commences. Designed to be proof against the 14.5mm KPVT, the Grizzly and Type 73 are incapable of hurting each other mostly.
Then even more Leopards crash the party.
The results are grim. The resistance of the infantry company is quickly reduced to theory rather than practice and most of their vehicles are wiped out. But they stand their ground, stiffened by the shouted orders of the regimental command section near them, forcing the Canadians to remain where they are mostly. And buying time for the MLRS and the Phantoms.
The ATGM jeeps are busy trying to interdict the people who might try to bypass us and head directly for our objective area, to which another of our infantry companies has been dispatched to defend it.
The Phantoms make up for their previous behavior, drawing two lines of fire across the contested hill and dumping napalm all over many of the Leopard 1CEs.
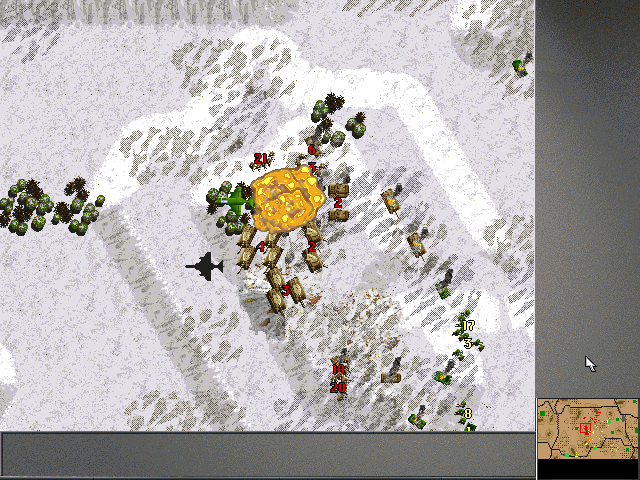
One of the Phantoms is hit by a Canadian ADATS missile, but after completing its run. It survives but it's no longer useable.
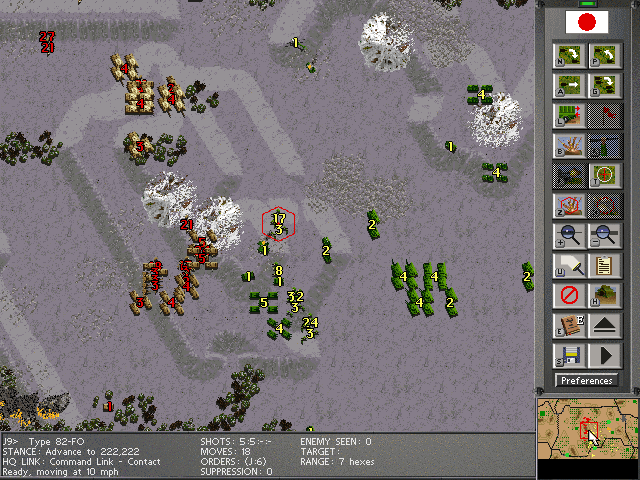
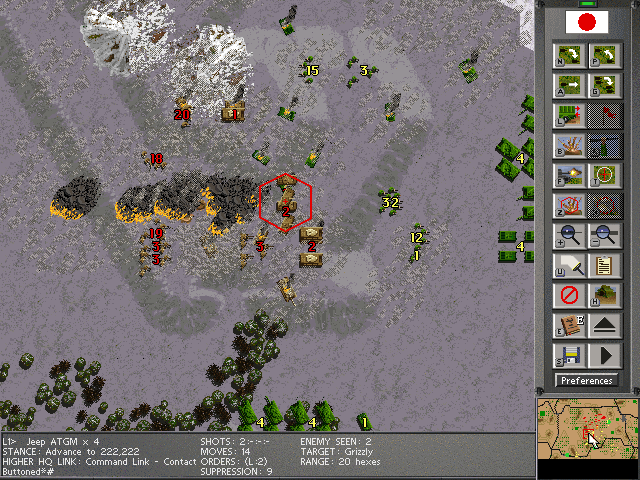
But the rockets come too late. The last act of Combat Command HLP's command section is to guide the fire of the MLRS in to the mass of enemy AFVs around them, but the remains of the brave infantry company begin to retreat in the face of the enemy, or are simply killed. However, the time they have bought worked; one company of Type 74s is in position and another is coming up from the south to sweep over the hill.
Even the flanking forces have flanking forces here; this is still closing on our objective area, though harassment by the ATGM jeeps, some MLRS fire, and the Cobra have managed to slow them down. AI APCs carrying infantry drop them when fired at, presumably so they don't take casualties when the vehicles are hit and destroyed, but it can be exploited. The ATGM jeeps have taken it on the chin buying time too; only a single platoon of them is still alive, and it's down by one vehicle.
On the other hand, we're capping out. There was no defense at all.
This is getting kind of sticky, though they've not managed to kill any of the APCs. I don't have the infantry out because they'd get the bejesus machinegunned out of them in seconds. Need more Grid Square Eraser ASAP!

One of the Leopard C1es did manage to put a round through a Type 74 as they swept through the wreckage of the first battleground, but was annihilated by the others.
APC FIGHT! One of them wings the Cobra, and it's out. Their last Leopards turn and charge the Type 74s flanking them and manage to knock out several. And then, without much warning, the MLRS fires, and the Canadians are slapped by the fist of an angry deity. They break and run.
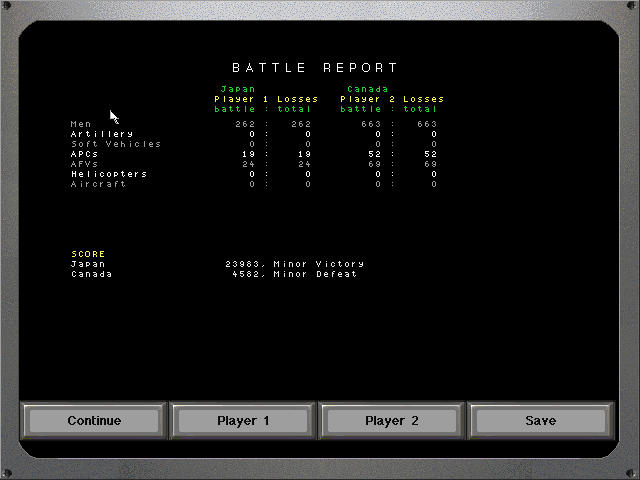
We are victorious. The cost was relatively high, as in the last moment Canadian artillery hit our mortars and the main contested hill. We lost 262 men, 19 APCs, 24 AFVs. The Canadian losses are 663 men, 52 APCs, and 69 AFVs. This is a weak enough victory that combined with my command section having dispersed from casualties I probably would have been kicked out of a campaign, despite the highly lopsided on-points bit.
So, that's Steel Panthers 3. Now, do you want to command a platoon? Sign up! Want to see a particular country (within the ability of the game to simulate them, I'll warn if one isn't included) fought as or against? Say so!
